Be the Citys Villain Spending Bounty Mid-Run
Open the shop on a roof, buy mobility first, and keep the army from outpacing your kit.
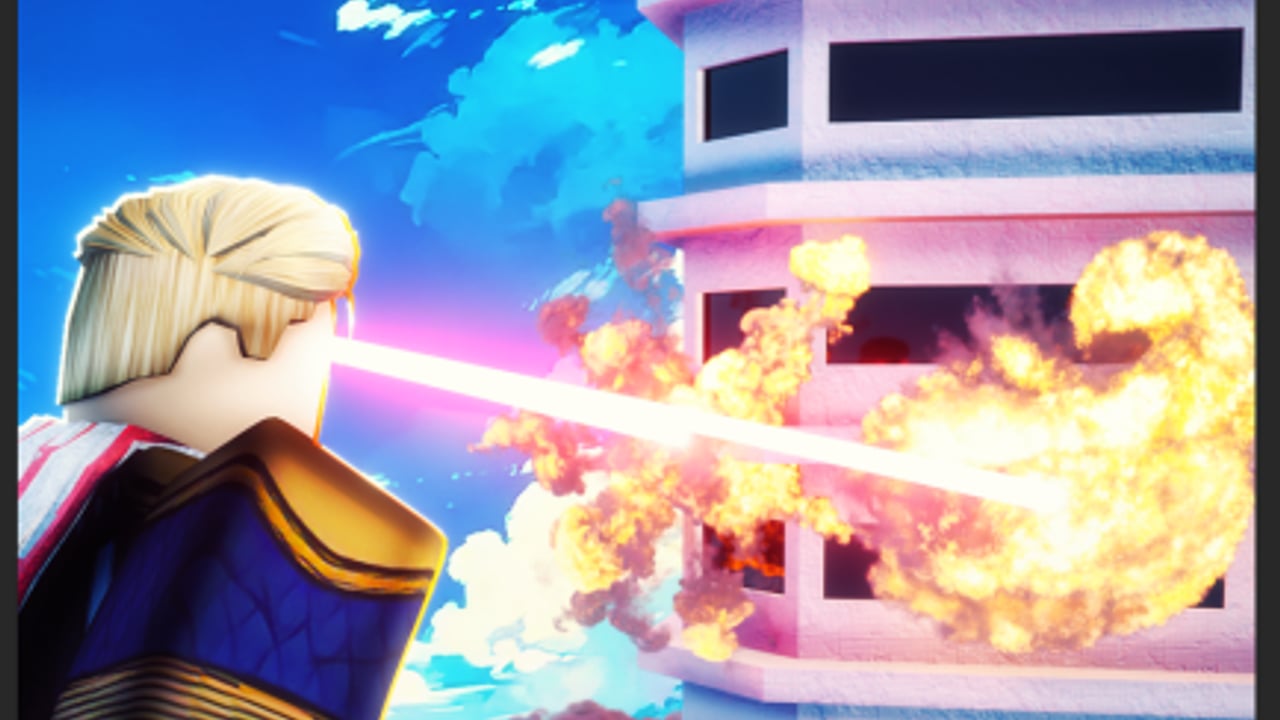
The upgrade system in Be the Citys Villain is the run. There is no separate lobby skill tree that you prepare the night before. You collapse buildings, bounty lands, you open a panel while the city is still angry, and you buy a better villain. If you treat that panel like a catalog in a safe zone, gunships will grade your paper.
This guide is about how the shop behaves and how to think on each axis. For a strict buy order, use upgrade priority. For a checkbox card, use the bounty spend guide. For which power is even worth the slot, use the powers tier list.
What bounty is (and is not)
Bounty is mid-run currency earned from destruction. It is not Robux. It is not a code (codes, when they exist, usually inject more bounty or a similar gift). It is not shared automatically with a co-op partner — each villain should assume they spend their own pool unless a given session clearly shows otherwise.
Bounty does not pause wanted. The meter can tick while the panel is open. That is why shop location is a combat skill. Roofs, far facades, the far side of a block you already finished. Never the street you just slammed.
If a node costs more than you expected, do not rage-click the next cheapest thing. Fly away, farm one building, come back with intent. Random fills are how slam-only kits are born.
The four axes in shop language
Live node names can change after Update 1. The axes stay stable.
Flight (mobility / survival). Takeoff speed, air control, hover stability, maybe stamina. This is the “do not die to tanks” track. Cheap early nodes here have the highest win rate of anything in the game. If a Flight node says it only changes cosmetics of the aura, skip it; if it changes how fast you leave a crater, sell the house.
Heat Vision (ranged destruction). Range first, then damage, then (if it exists) beam width or cooldown. Range is extra health. Damage is wanted per second. Width is luxury. A long weak beam that you can fire from a safe hover beats a short melt that requires sidewalk feet.
Ground Slam (area collapse). Radius, damage, recovery. Strong wanted tool on empty streets. Recovery is the hidden survival node — a slam you cannot leave is a tank donation. If you must buy slam in mid-game, recovery and takeoff (Flight) are the pair, not radius.
Chest Blast (burst). Damage, range, cooldown. This is hunter insurance at 55 / 75 / 90 and a mop for clustered facades. Cooldown matters more than people think: one strong blast you can hold is better than a spam button you emptied on lamp posts.
Opening the panel without dying
- Finish the current facade or abort it. Do not shop at 90% of a tower.
- Gain altitude. Confirm no gunship lead on you.
- Land on a roof or hold a stable hover if the UI allows air shopping.
- Buy one planned node, close, move.
- If the hunter breakpoint is within a few wanted ticks, buy Chest Blast / Flight, not slam radius.
Mobile players: land. The joystick plus a shop modal is how you drift into a mech. More on that in controls.
Duo players: do not both shop at once. One watches the sky. Co-op tips covers the watch rotation.
Opportunity cost (the real upgrade skill)
Every node is a node you did not put on Flight. That sentence should follow you to 99.
- Buying slam radius at 30 feels strong and makes 55 harder.
- Buying a third blast damage node while your hover still slides makes gunships free.
- Banking 80% of your bounty “for later” while you are already losing fights is cowardice dressed as planning. Spend the survival node. Bank the greed node.
A practical rule: if you died to movement, buy movement. If you died to a rival, buy blast or altitude. If wanted is stalled, buy laser damage. Do not buy the thing that looked cool in the getting started trailer beat.
Sample shop snapshots
Wanted 12, first payday. Flight takeoff. Optional tiny slam or laser if you still cannot break a storefront. Stop.
Wanted 35. Flight hover, Heat Vision range. You should already be uncomfortable on the street.
Wanted 50. First Chest Blast. Confirm laser still farms from altitude. Ignore slam glow.
Wanted 70. Whatever you died to at 55. Then laser damage so 75 is not a stall. Slam only if takeoff is a reflex.
Wanted 92. No new slam. Medium buildings, hold blast, close wanted 99.
What the shop will not do
It will not skip hunter windows. It will not replace survive the army habits. It will not make a script safe. It will not spend a partner’s bounty for them.
It will turn a disciplined villain into someone the city has to take seriously. That is the whole power-fantasy promise: not a hidden fifth element, just a better version of the four you spawned with.
After you buy
Test the node immediately on a low-value facade, not on a rival. Confirm takeoff still works after a slam. Confirm the beam still aims on mobile. Then leave. The army is the exam; the shop is only the pencil.
Frequently Asked Questions
Quick answers for codes, wanted 99, bounty upgrades, and army fights.
Can I upgrade powers in the lobby?
The design is mid-run bounty spend. Open the panel during a session, on a roof, not in tank fire.
Which upgrade path is best?
Flight first, Heat Vision range second, Chest Blast before 55. Details on upgrade priority.
Does my co-op friend share bounty?
Assume no. Each villain spends their own unless a session clearly shows a shared pool.
Should I save bounty for one huge node?
Save for a hunter breakpoint. Do not save while you are already dying to gunships — buy Flight.
Do codes replace upgrades?
No. Redeem them on the codes flow, then spend the extra bounty with this shop logic.